Today, I built a Printer Lab. I added a print server to my Active Directory domain controller and shared the printer making it available to the domain-joined workstation.
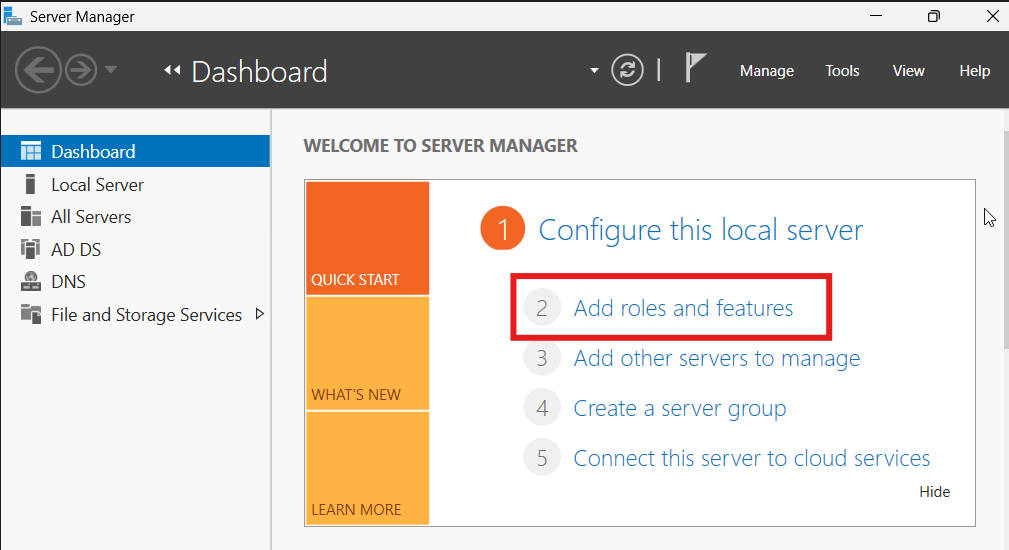
The first step is to add a role in the Server Manager.
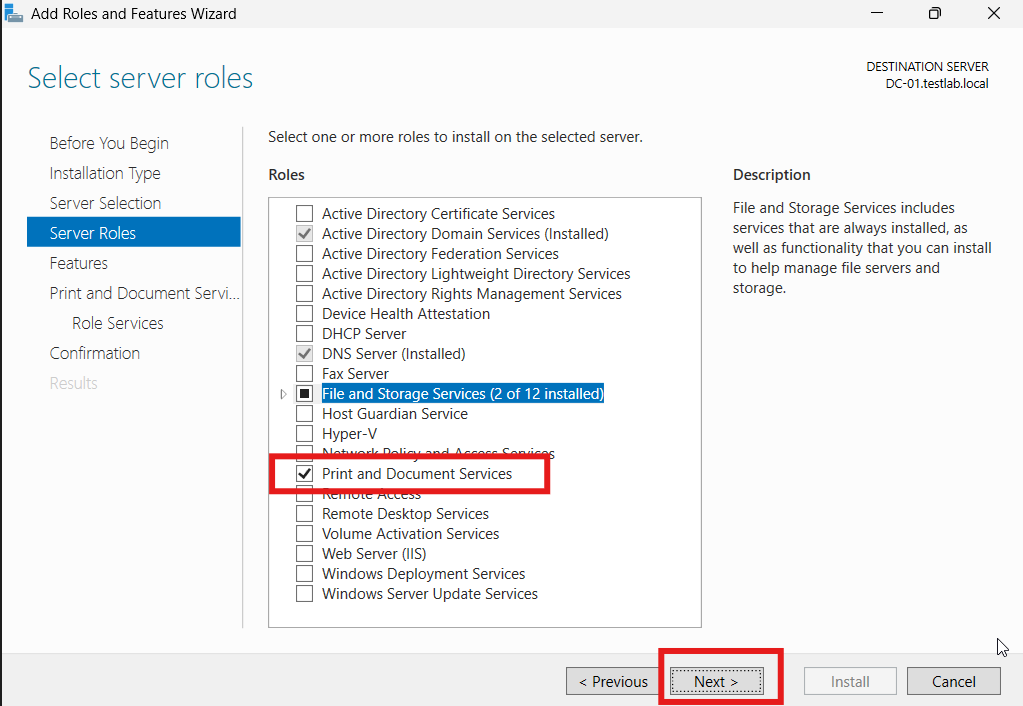
Then, from in the wizard go to the Server Roles tab and check Print and Document Services and click Next.
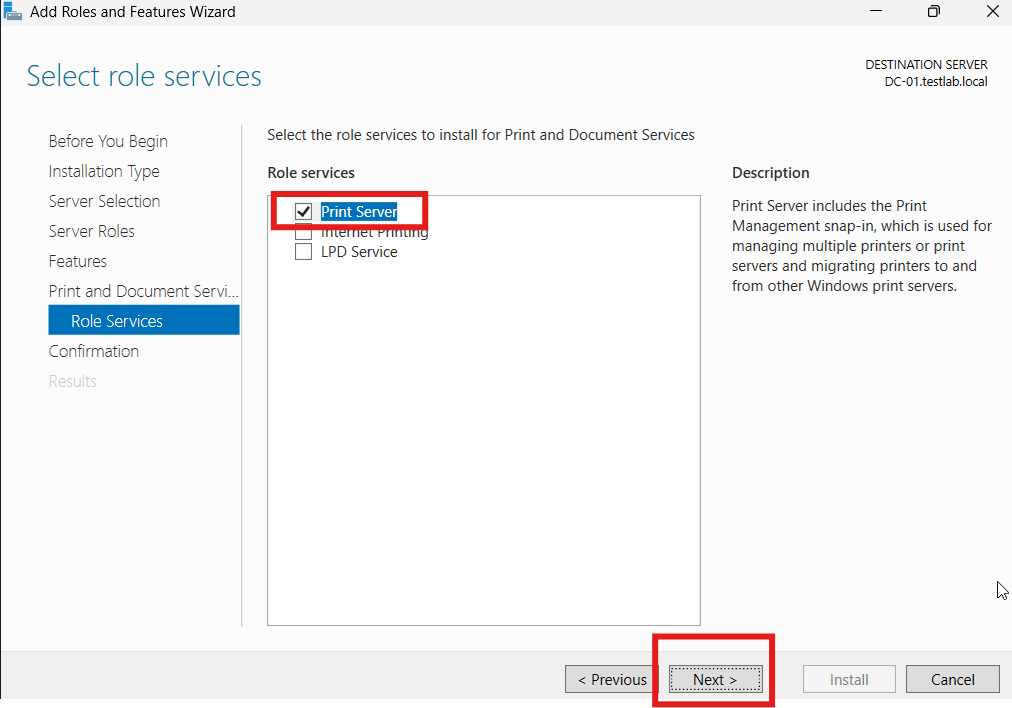
Then in the Role Services tab make sure that Print Server is check and click Next.
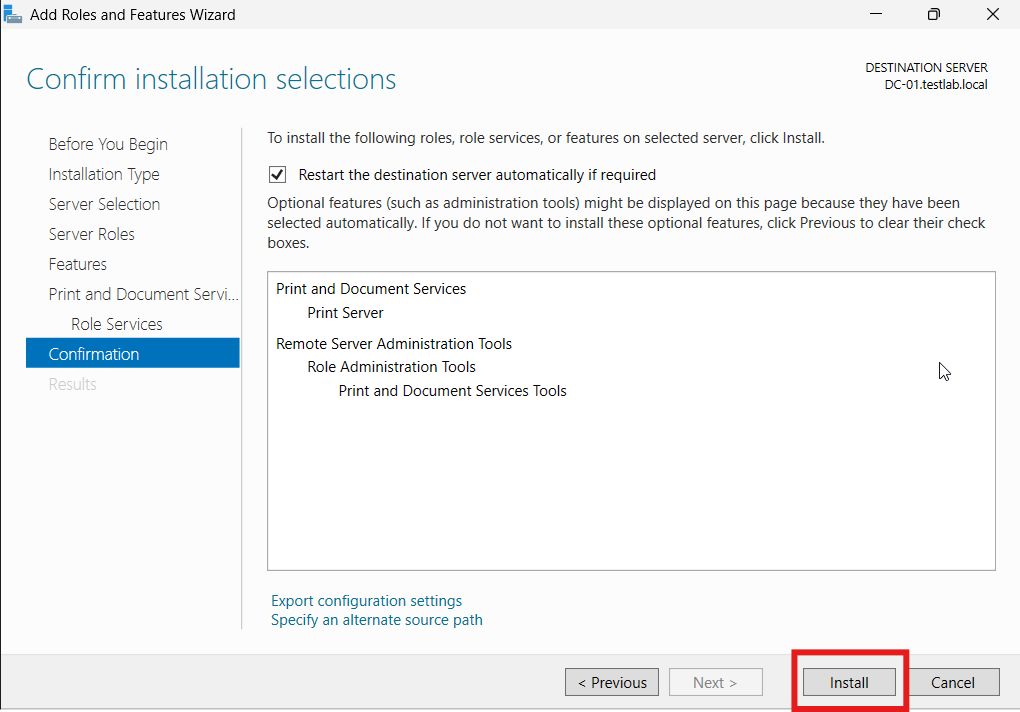
Then click Install.
Next add and share the printer. If you have a printer your steps will be different but the add printer wizard should make it easy to find and install your printer and the correct drivers. I installed a simulated “printer” in the following steps.
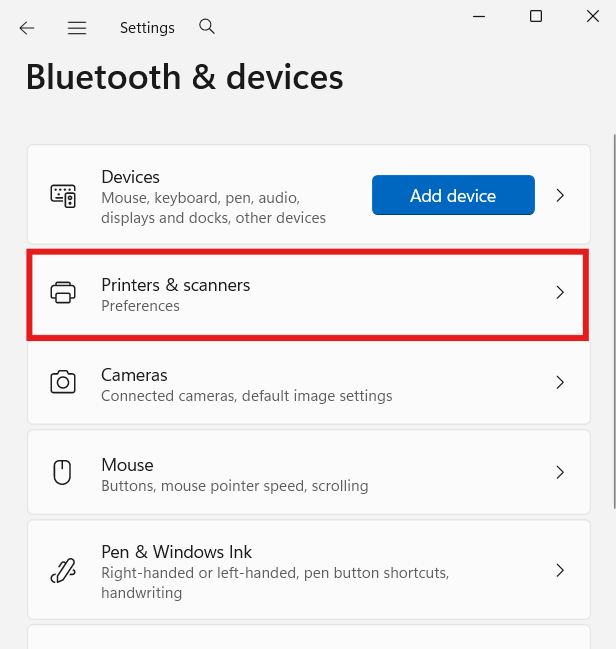
Open settings and find Bluetooth & devices and open it.

Then open Printers & scanners.
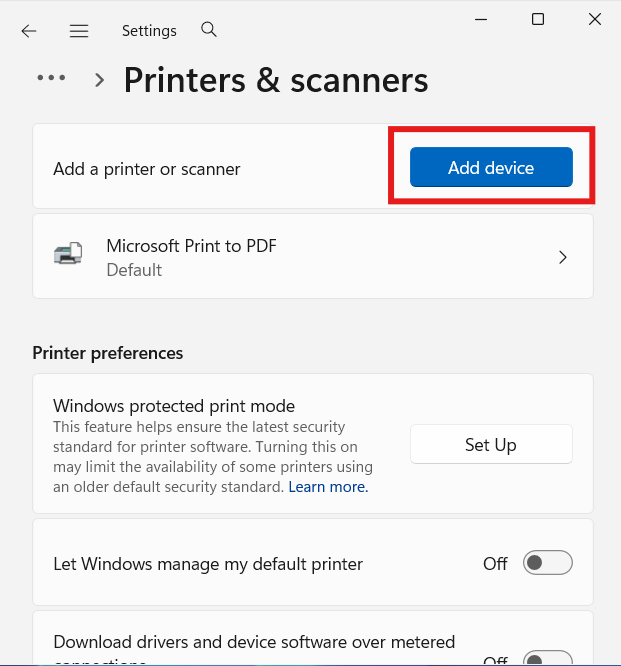
Then click Add device.
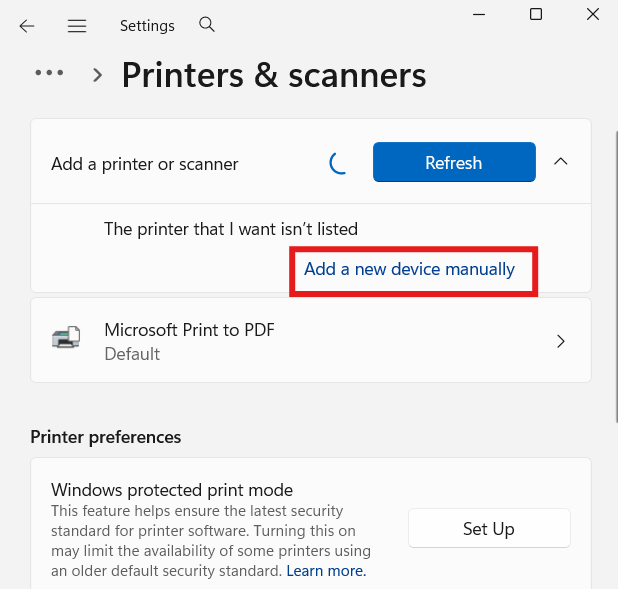
Then select Add a new device manually.
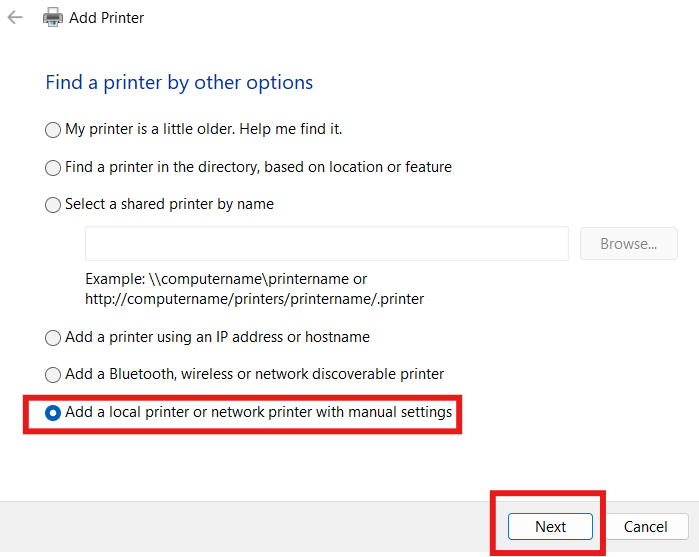
The Add Printer wizard will start. Select Add a local printer or network printer with manual settings and click Next.
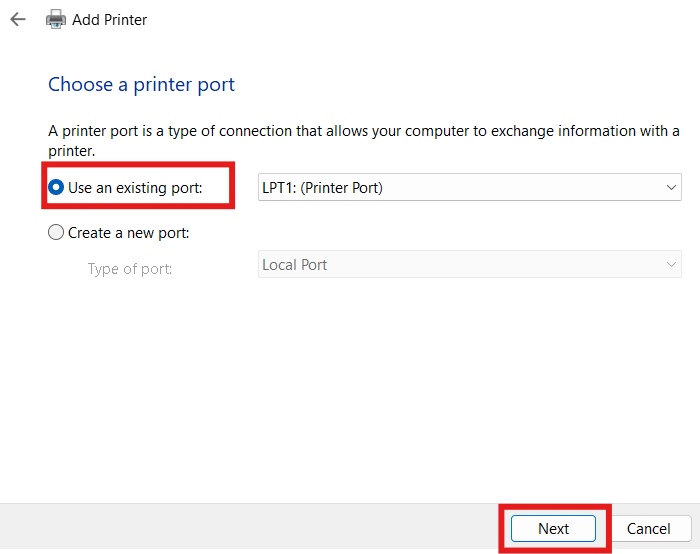
You can use an existing port or create a new port. I don’t think it matters much in my case since there is no actual printer. I chose to Use an existing port and went with the one that was already selected, LTP1: (Printer Port). Click Next.
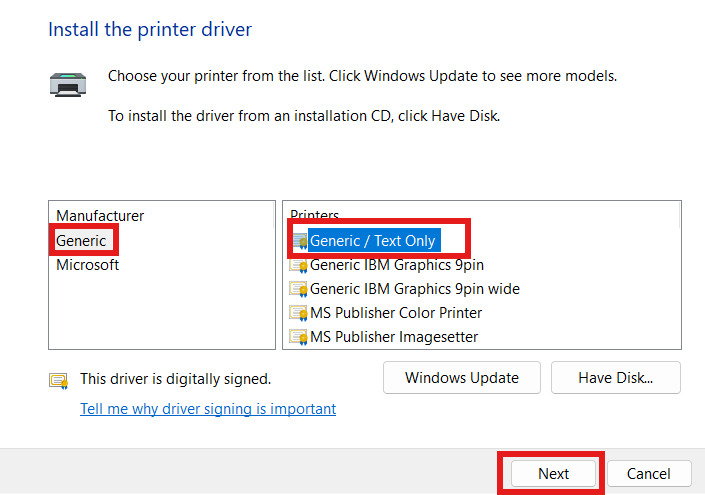
Chose generic driver and click Next.
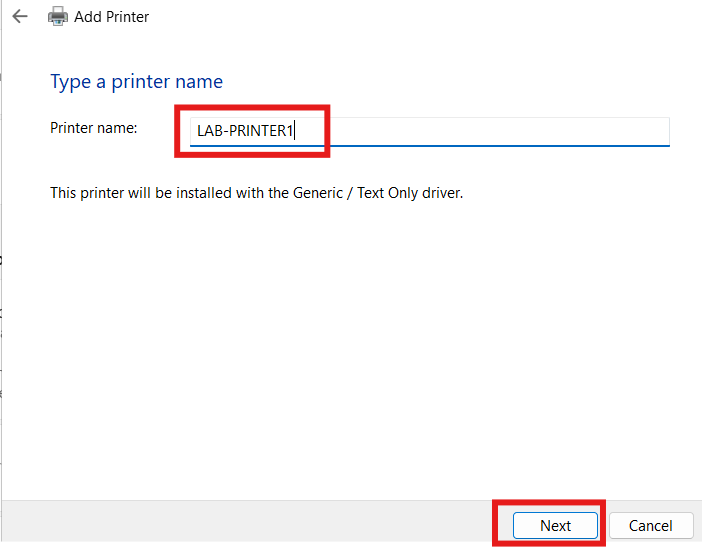
Name your printer and click Next.
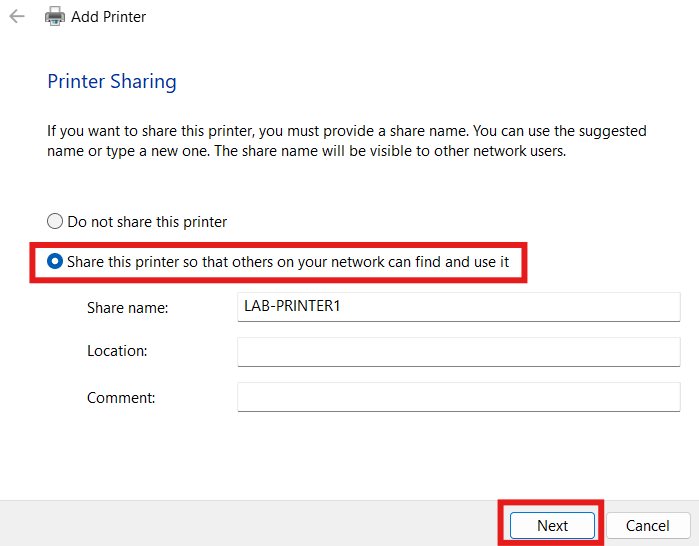
Ensure Share this printer so that others on the network can find and use it is selected and click Next.
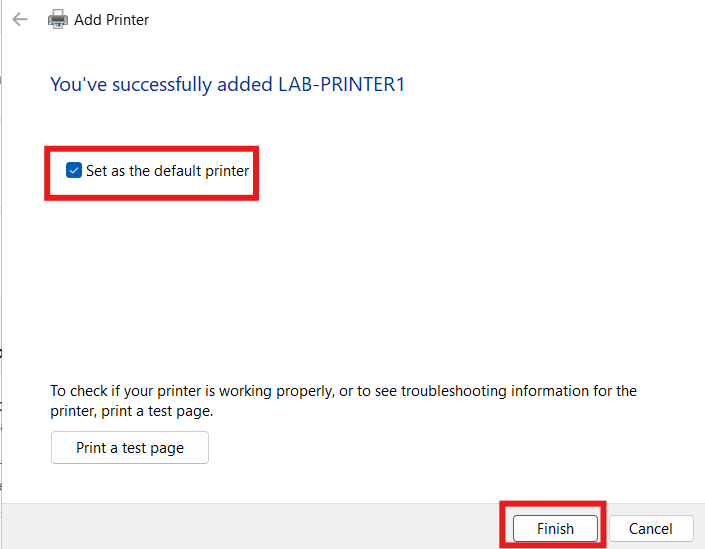
Set as default printer and click Finish.
The next step is connect the printer to the workstation.
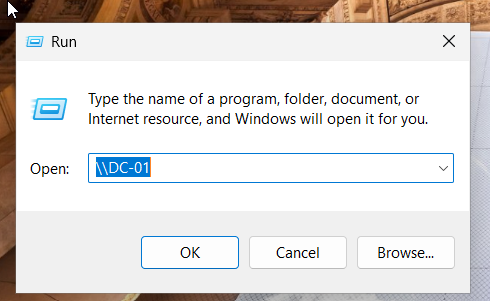
Open the Run dialog box by searching run or typing Windows Key + R and connect to the server.
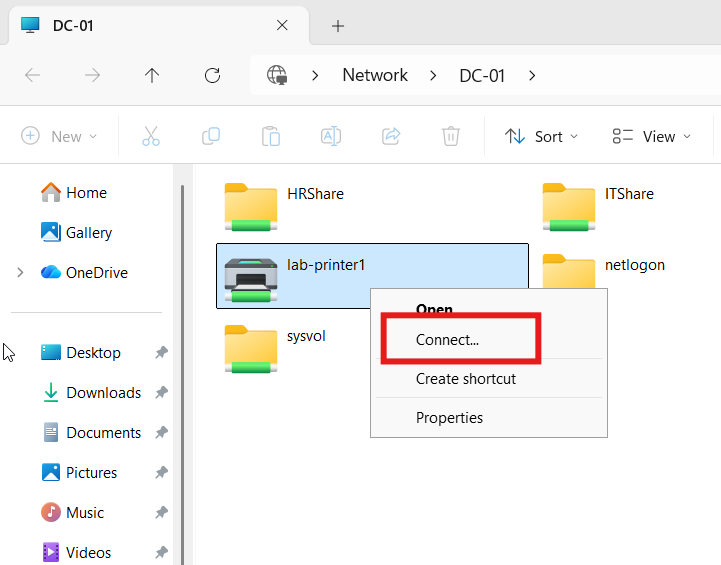
Right-click on the printer and click Connect…
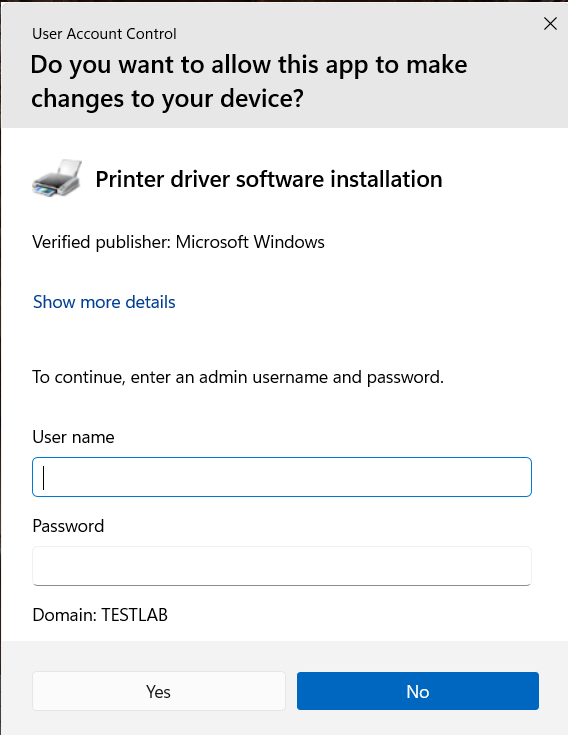
If UAC pops up, fill it out.
Now you have a networked “printer” that you can use to practice troubleshooting scenarios such as broken permissions, spooler service stopped, bad drivers, clearing the queue, etc. This does have shortcomings because you cannot interact with a physical printer and when a user creates a print job the behavior will be different than if there was an actual printer so be aware of that.